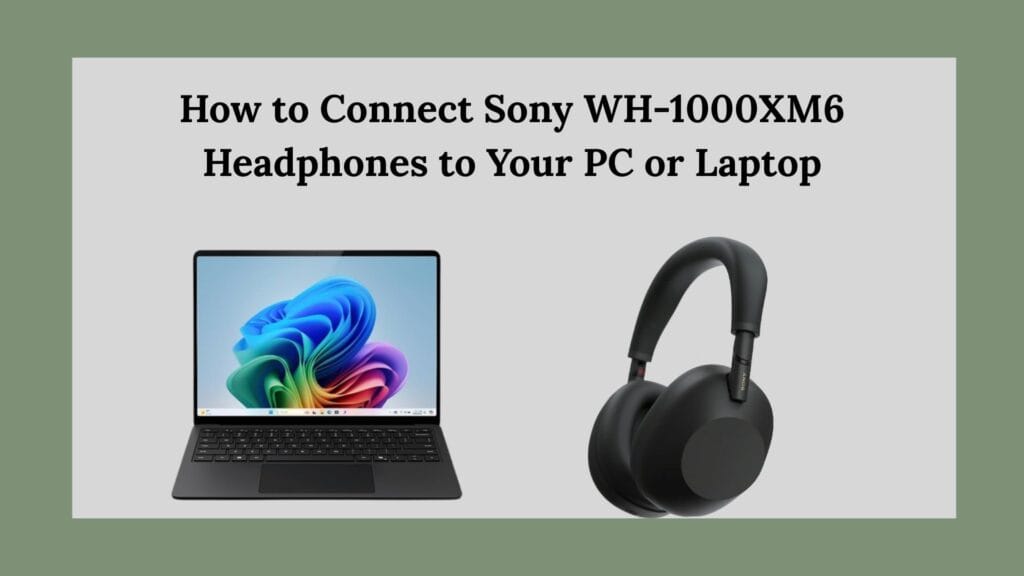
The Sony WH-1000XM6 is one of the most advanced wireless noise-canceling headphones on the market. With its outstanding audio quality, adaptive sound controls, and premium comfort, it’s a favorite among music lovers, remote workers, and gamers alike. If you’ve just bought a pair and are wondering how to connect them to your PC or laptop, you’ve come to the right place.
In this blog post, we’ll walk you through every method to connect the WH-1000XM6 to a Windows 10 or Windows 11 PC — whether via Bluetooth or using the supplied cable — and offer solutions if you encounter issues.

Requirements Before You Start
Before pairing your Sony WH-1000XM6 to your computer, make sure you have:
- A fully charged headset
- A Windows 10 or Windows 11 PC/laptop with built-in or external Bluetooth
- The Sony | Sound Connect app (optional, for firmware updates)
- The 3.5mm audio cable included in the box (optional for wired connection)
Method 1: Connect via Bluetooth (Wireless)
Connecting your Sony WH-1000XM6 via Bluetooth offers the full wireless experience. Here’s how to do it:
Step 1: Put the Headphones in Pairing Mode
- Turn off the headphones (if they’re already on).
- Press and hold the Power button for 2 seconds to turn them on.
- If this is your first time using them, they will automatically enter pairing mode (you’ll hear “Pairing”).
- If they don’t enter pairing mode:
- Press and hold the Bluetooth button for 5 seconds until the blue light flashes twice repeatedly.
- You will hear the voice prompt “Pairing”.
Step 2: Enable Bluetooth on Your PC or Laptop
For Windows 11:
- Click the Start menu and go to Settings.
- Click Bluetooth & devices.
- Turn Bluetooth ON.
- Click “Add Device” → select Bluetooth.
- Wait for WH-1000XM6 to appear, then click it to connect.
For Windows 10:
- Go to Settings > Devices > Bluetooth & other devices.
- Turn Bluetooth ON.
- Click “Add Bluetooth or other device” → choose Bluetooth.
- Select WH-1000XM6 from the list.
Step 3: Confirm Connection
Once connected, you’ll hear a voice say “Bluetooth connected”, and the headphones will appear in your device list as “Connected.”
Set WH-1000XM6 as Default Audio Output (Optional but Recommended)
To make sure your PC uses the headphones for audio:
- Right-click the speaker icon in the taskbar.
- Click Sound settings (Windows 11) or Open Sound settings (Windows 10).
- Under Output, select WH-1000XM6 Stereo.
- For mic input, you may see WH-1000XM6 Hands-Free.
Use “Stereo” mode for music and media. Use “Hands-Free” only for calls or mic use.
Method 2: Connect Using the Supplied 3.5mm Audio Cable (Wired)
If your PC doesn’t support Bluetooth or you want to conserve battery, you can connect the WH-1000XM6 using the 3.5mm audio cable that came in the box.
Steps:
- Plug one end of the audio cable into the headphones.
- Plug the other end into your computer’s headphone jack (if available).
- Turn on the headphones (optional) to enable noise canceling.
- Windows should automatically route sound through the connected headphones.
When using wired mode, Bluetooth is turned off and mic functions may be limited.
Troubleshooting Common Issues
Even though the connection process is easy, you might run into issues. Here’s how to fix them:
Headphones Not Showing in Bluetooth List?
- Make sure the headphones are in pairing mode (flashing blue light).
- Turn Bluetooth off and back on on your PC.
- Try pairing from the Sony | Sound Connect app if available.
No Sound Even After Connection?
- Right-click the volume icon > Sound settings.
- Set WH-1000XM6 Stereo as the default output device.
- Avoid using Hands-Free mode for media playback—it has lower sound quality.
Disconnecting Randomly?
- Move closer to the PC and remove other wireless devices nearby.
- Fully charge your headphones.
- Update firmware via the Sony | Sound Connect app.
Mic Not Working?
- In “Sound settings,” make sure WH-1000XM6 Hands-Free is selected under Input.
- Note: The mic quality in Bluetooth “Hands-Free” mode is not ideal for professional calls.
Can You Use the Sony | Sound Connect App on PC?
Currently, the Sony | Sound Connect app is available only for iOS and Android, not for Windows. However, once your headphones are connected to your phone via the app, you can:
- Check for firmware updates
- Customize the EQ and sound profiles
- Change noise canceling settings
- Enable or disable speak-to-chat and adaptive sound control
You can still connect to PC via Bluetooth or wired even if you set up these features via your phone first.
What’s Included in the Box for Connectivity?
When you unbox your WH-1000XM6, you should get:
- Sony WH-1000XM6 headphones
- USB-A to USB-C charging cable
- 3.5mm audio cable (for wired listening)
- Carrying case
- Instruction manuals
Make sure to use original accessories to avoid connection or charging issues.
Tips for the Best PC Audio Experience
- Keep your Windows drivers updated, especially Bluetooth and audio drivers.
- Use Stereo mode for high-quality music and video playback.
- Use a Bluetooth 5.0 or newer adapter if your PC has older Bluetooth versions.
- Avoid connecting to multiple devices at the same time if experiencing disconnection issues.
Final Thoughts
Connecting your Sony WH-1000XM6 headphones to your PC or laptop is simple, whether wirelessly through Bluetooth or via the audio cable. With just a few quick steps, you’ll be enjoying Sony’s industry-leading noise cancelation and crystal-clear sound on your computer.
If you’re using your PC for meetings, gaming, or casual listening, the WH-1000XM6 is a reliable companion that adapts to your needs.

Fantastic site A lot of helpful info here Im sending it to some buddies ans additionally sharing in delicious And naturally thanks on your sweat